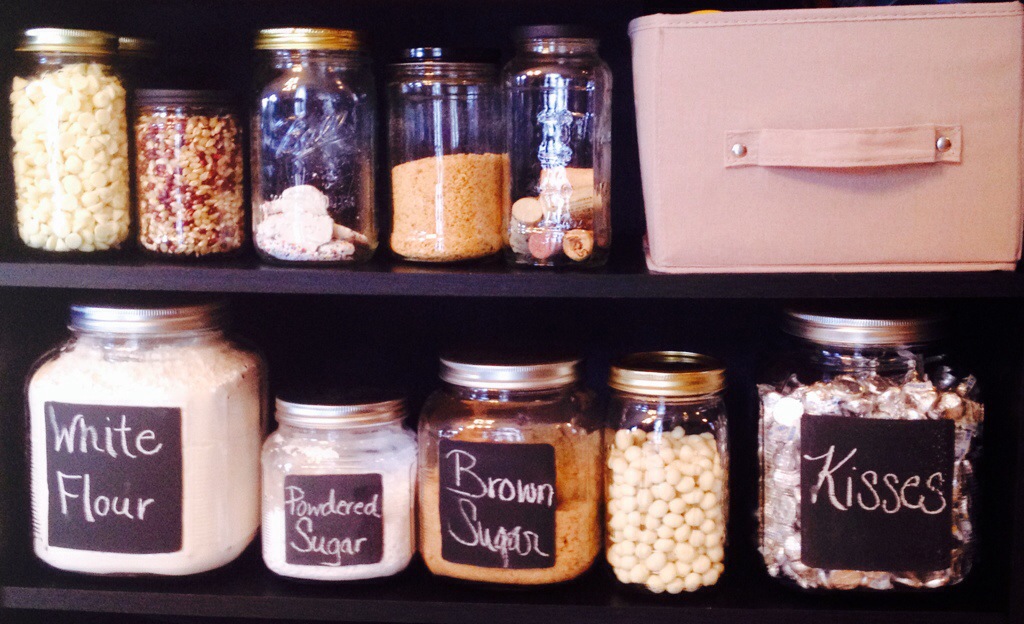
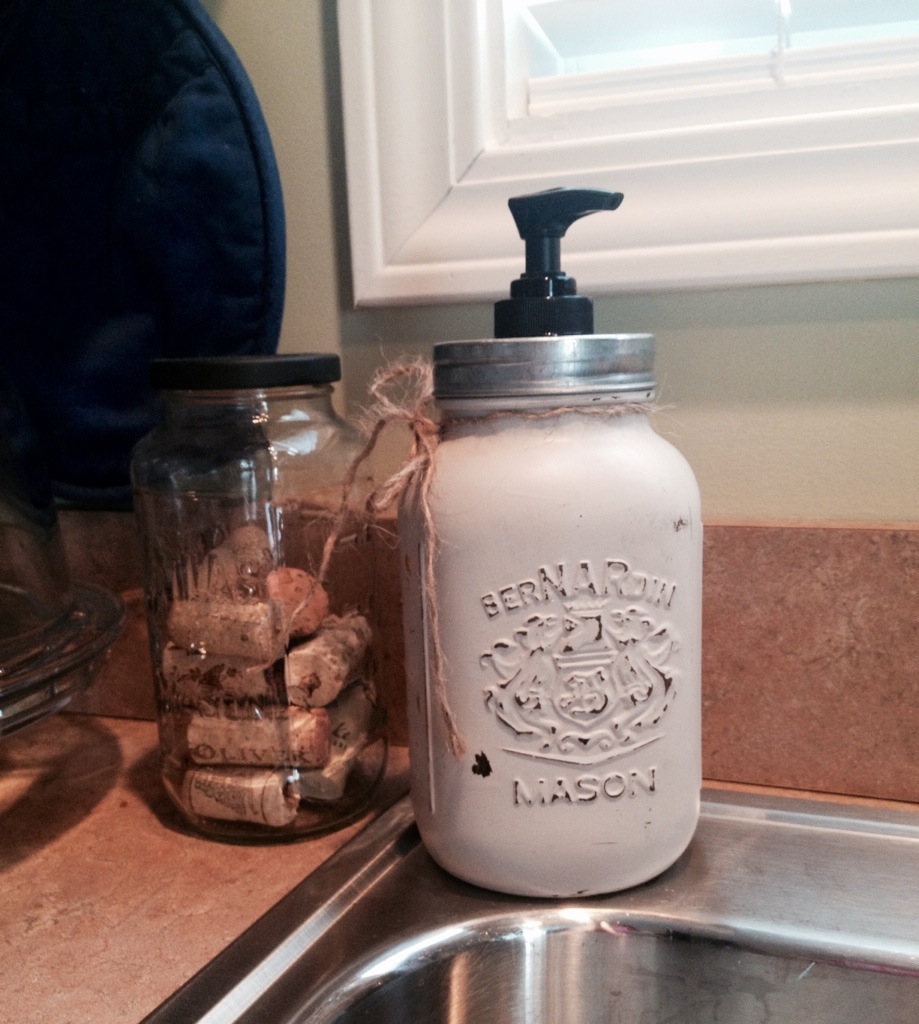
 I LOVE having an organized kitchen. Clear jars are a great way to store things in airtight containers. Even though the mason jar craze is on it’s way out, I still like the simple and classic look of jars. I tend to save jars and paint the lids to use them for another purpose.
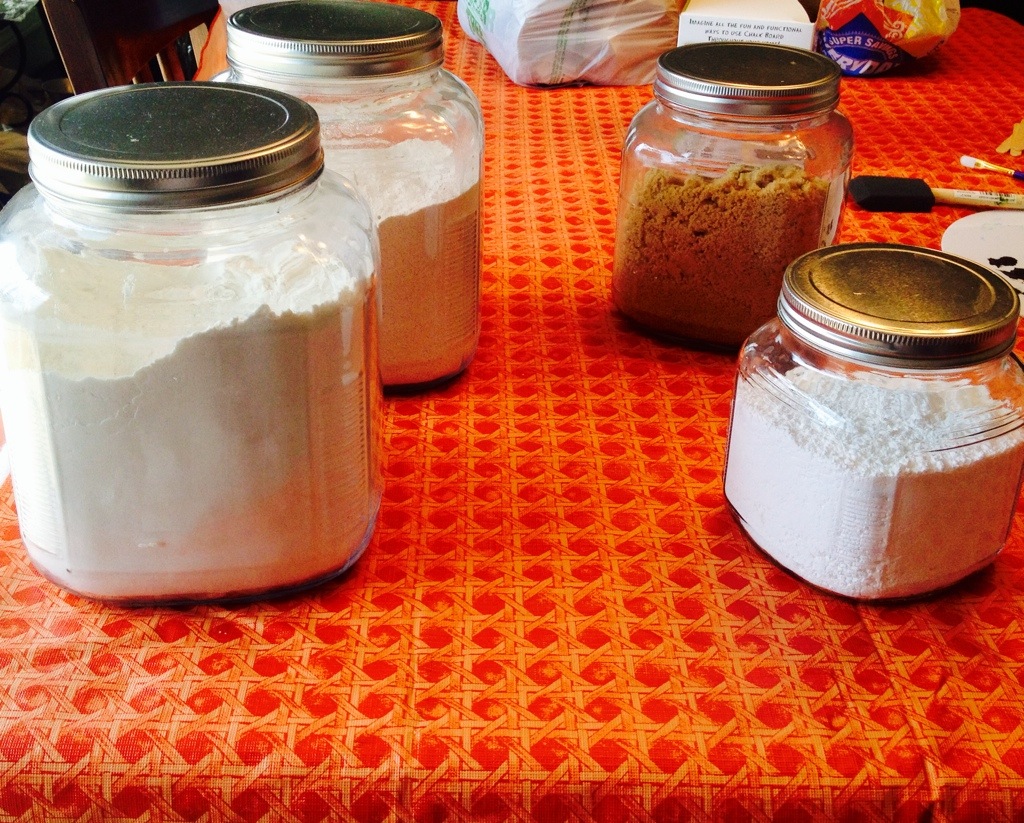
I picked up these jars fairly cheaply and with some chalk paint, painted on a place to write the contents of my jars. (Yes, I had already filled them when I painted them.) I simply put a few thin coats of Chalkboard Paint in the square on the glass. Such a great way to label-when you need to change the label, wash them and write something new.
Repurpose
Inspiration
Like many of you, I get a lot of my inspiration from Pinterest, but sometimes it may be from other websites, shopping, tv, or magazines too. I often find an item that is a beautiful piece, it just needs some love. Then I may dream up multiple ways to paint or make it new. (Part of the fun for me!) Some pieces speak to me right away and need to be painted a certain way, while others it takes me awhile to design them.
For this post, I’d like to hear from you. In a Pinterest & DIY inspired time, what inspires your home projects?
Next Project- Coffee Table Makeover
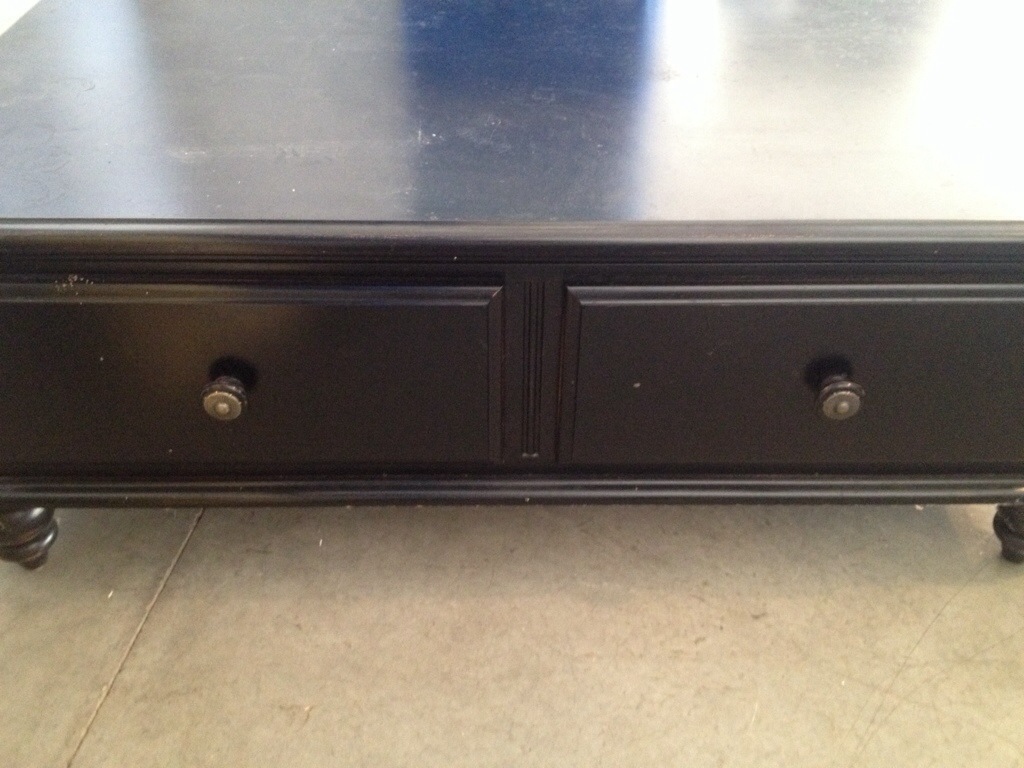
With starting a new job, I’ve been a bit slow at getting around to painting this coffee table. (For my day job, I work as a Wellness Coach. I love helping people become healthier & reach their own personal goals!) Now that I feel like I’m settling into my job a bit and my last craft show is over, things are a little less hectic now. I’m ready to begin some new projects!
Part of the fun for me, is dreaming up all the ways I can give it a brand new look. For this one, I think I’ll try something new. Maybe a fresh coat of paint with a glaze over it to bring out the details. 🙂 I’m still deciding the color, but hope to pick it out soon. Stay tuned for more updates soon!
What colors are you loving right now?
Here is the coffee table Before: If someone is interested in the Evansville, IN area, I can custom paint and you pick the color.
First Craft Show
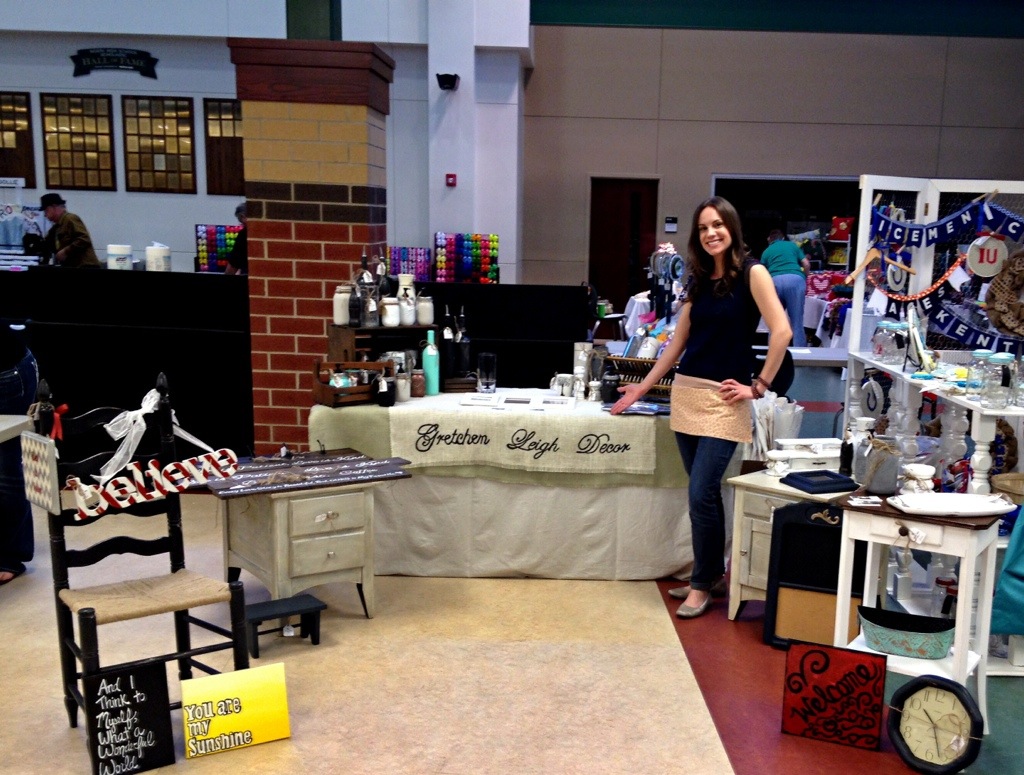
It’s been awhile since I’ve posted anything on here. I thought it was due for an update. I have been posting more on Facebook and getting ready for my first craft show!
I’ll admit when I signed up for the show, I wasn’t sure if I’d ever do one again. However, it was a great experience and I LOVED being able to meet my customers! It was great to see how excited purchasing my items made them. Whether it was finding that perfect gift, an item with a fantastic childhood memory or a way to remember a loved one that has passed, each one had a special reason. I love creating that item that someone cherishes! With that said, I do believe I will try and have a booth at another show soon.
I will also continue to refinish furniture and do custom orders. If you have a piece of furniture you’d like refinished, please email me a picture and the dimensions for a quote. Email: GretchenLeighDecor@gmail.com
I want to Thank my customers. They encourage me to continue and keep painting! I hope to update my Etsy shop soon too with new items.
Any suggestions for items you’d like to see in my shop?
A New Tip for Removing Labels on Glass
I don’t know about you, but I come across so many glass bottles from packaging that would be great for other uses. You just have to be able to get the label off. Some are easy to peel…but others leave you scraping forever.
Here are a few tips I found that work best for me:
First, I fill the sink with hot water, dish soap and sprinkle in some baking soda.
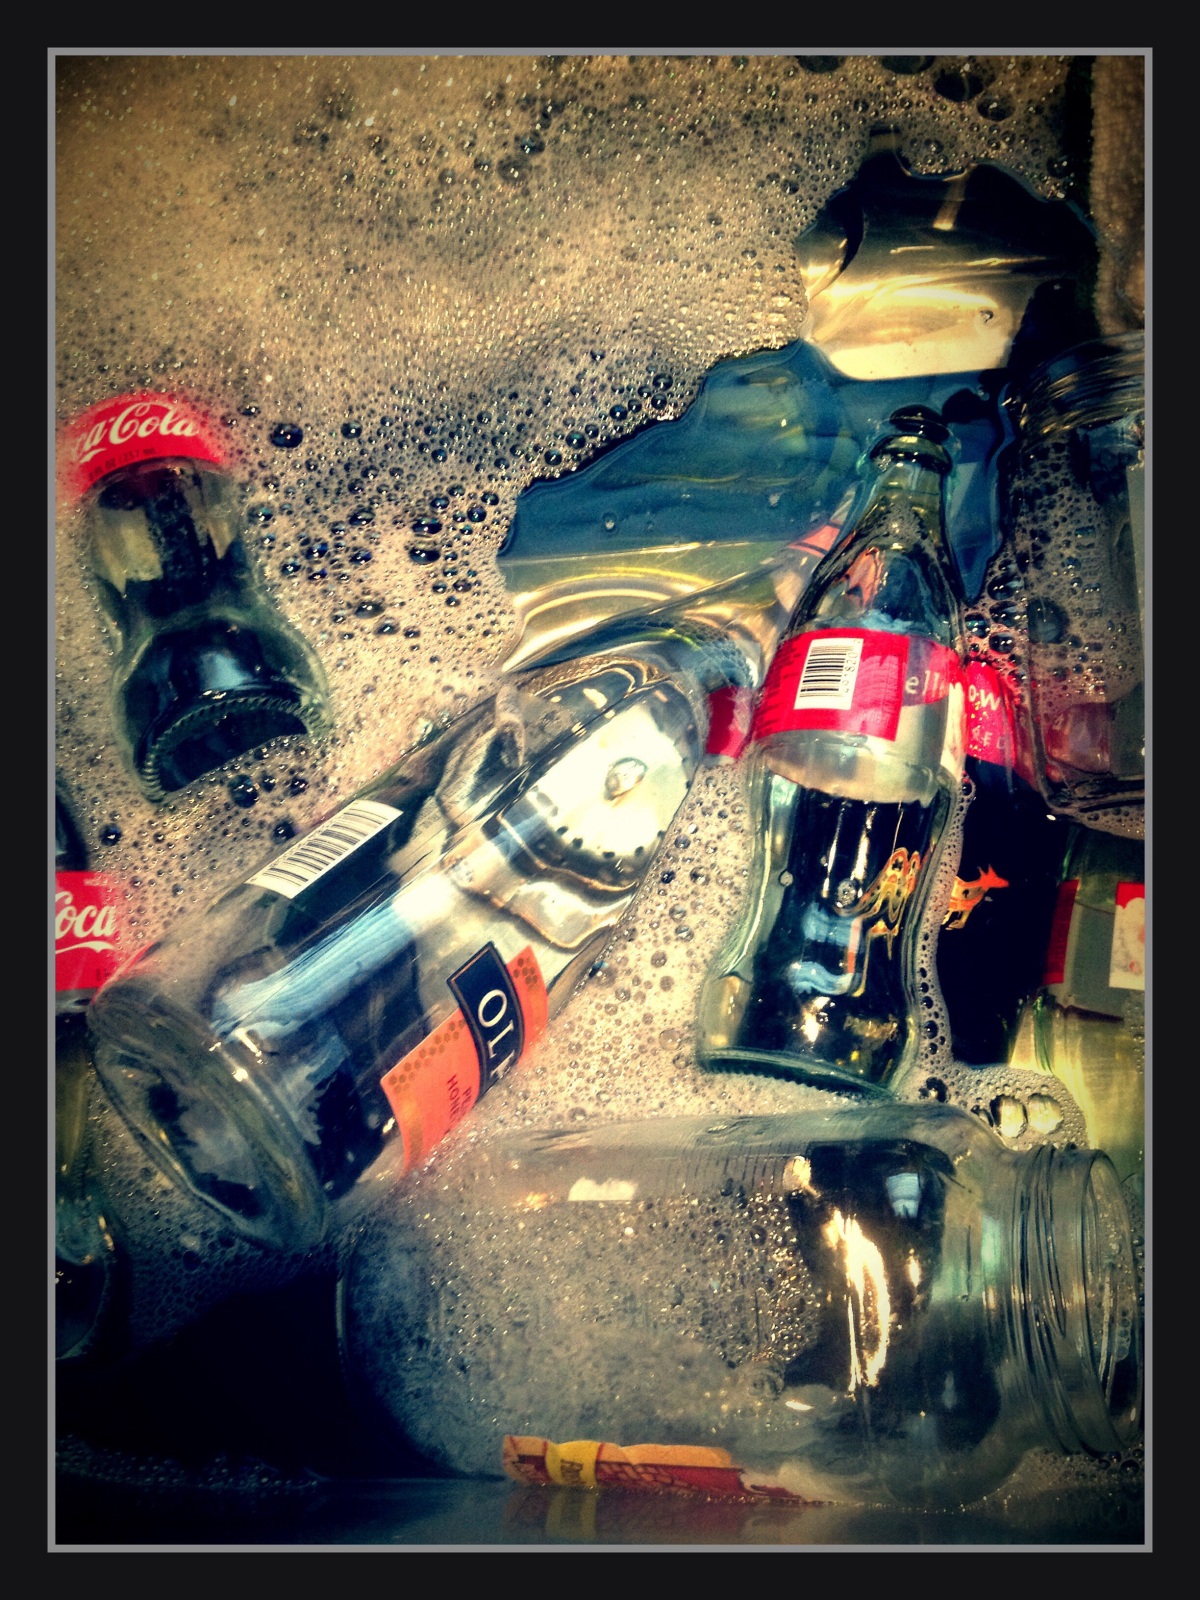
Then, I let them soak for awhile. (At least 30min, if not longer. I did things around the house and came back to them.) Some of the labels will just slide off with this method, however, I’ve found some are still very much stuck on.
So here’s my big tip that I hadn’t seen anywhere else…
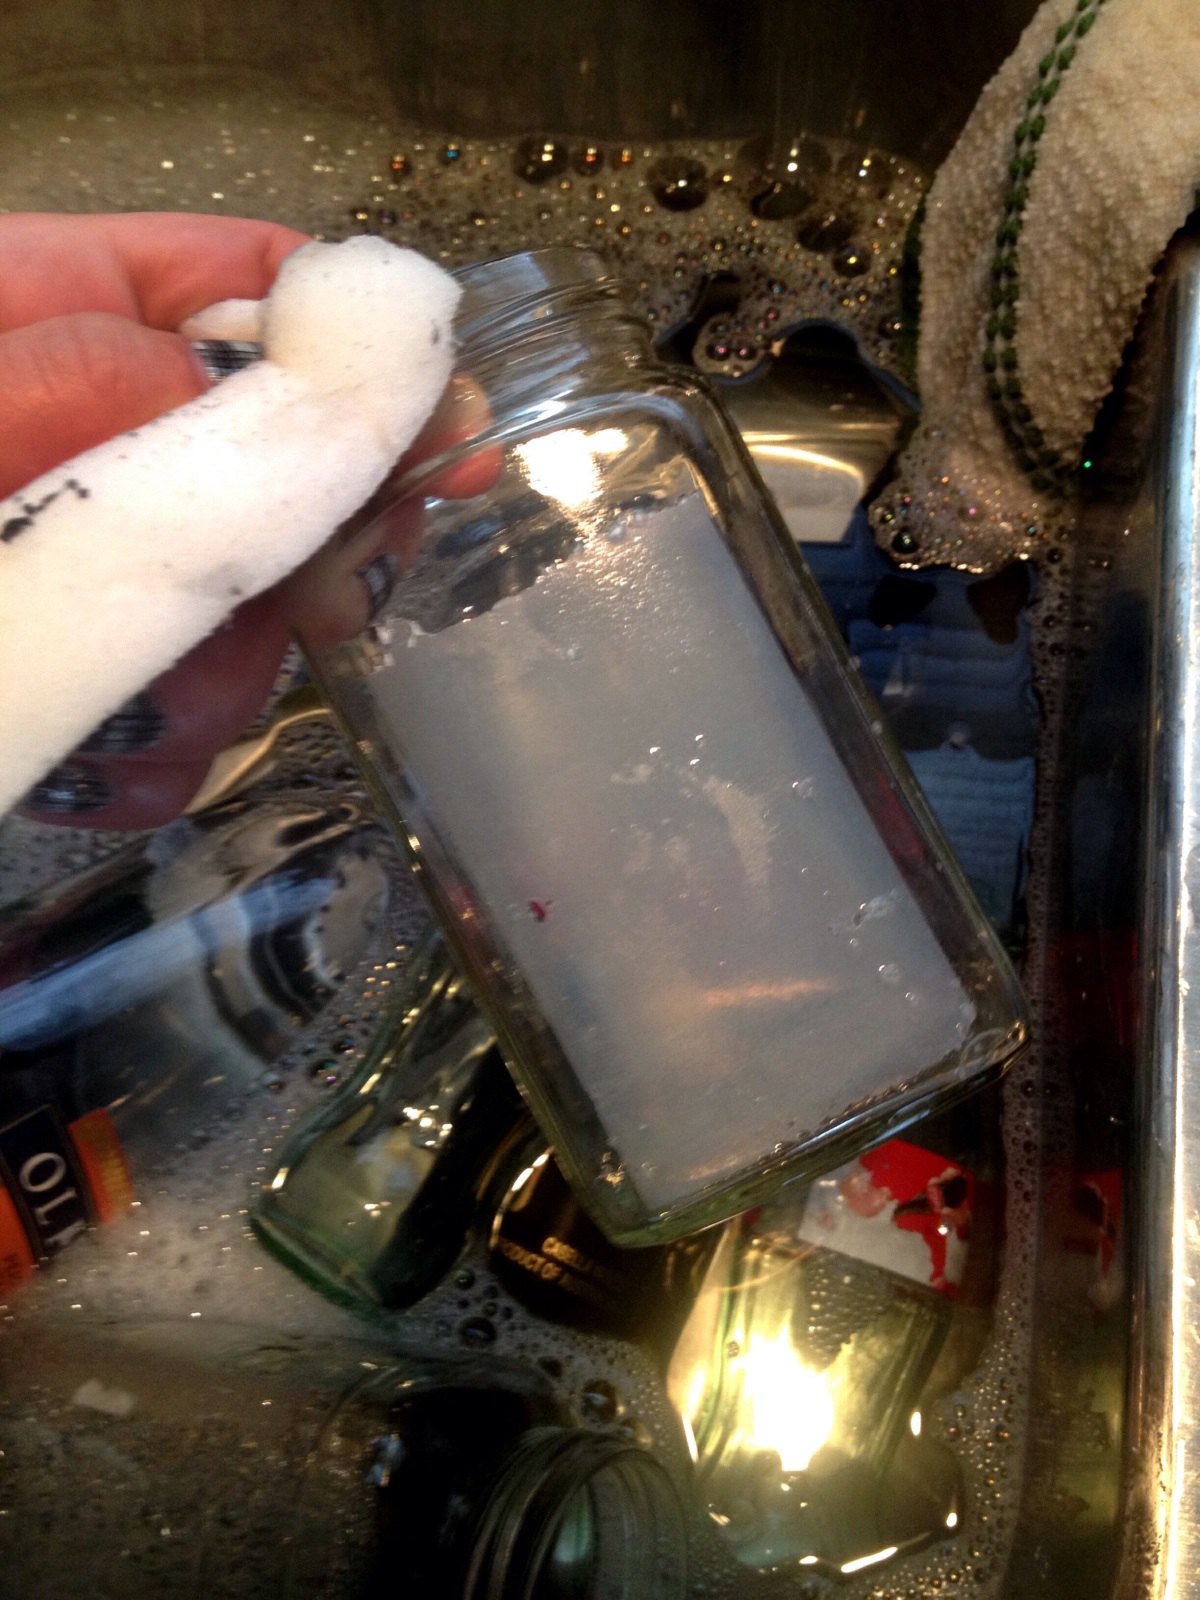
I use a magic eraser to remove the leftover residue. (Actually I used one I got from the dollar store. Even better right!?)
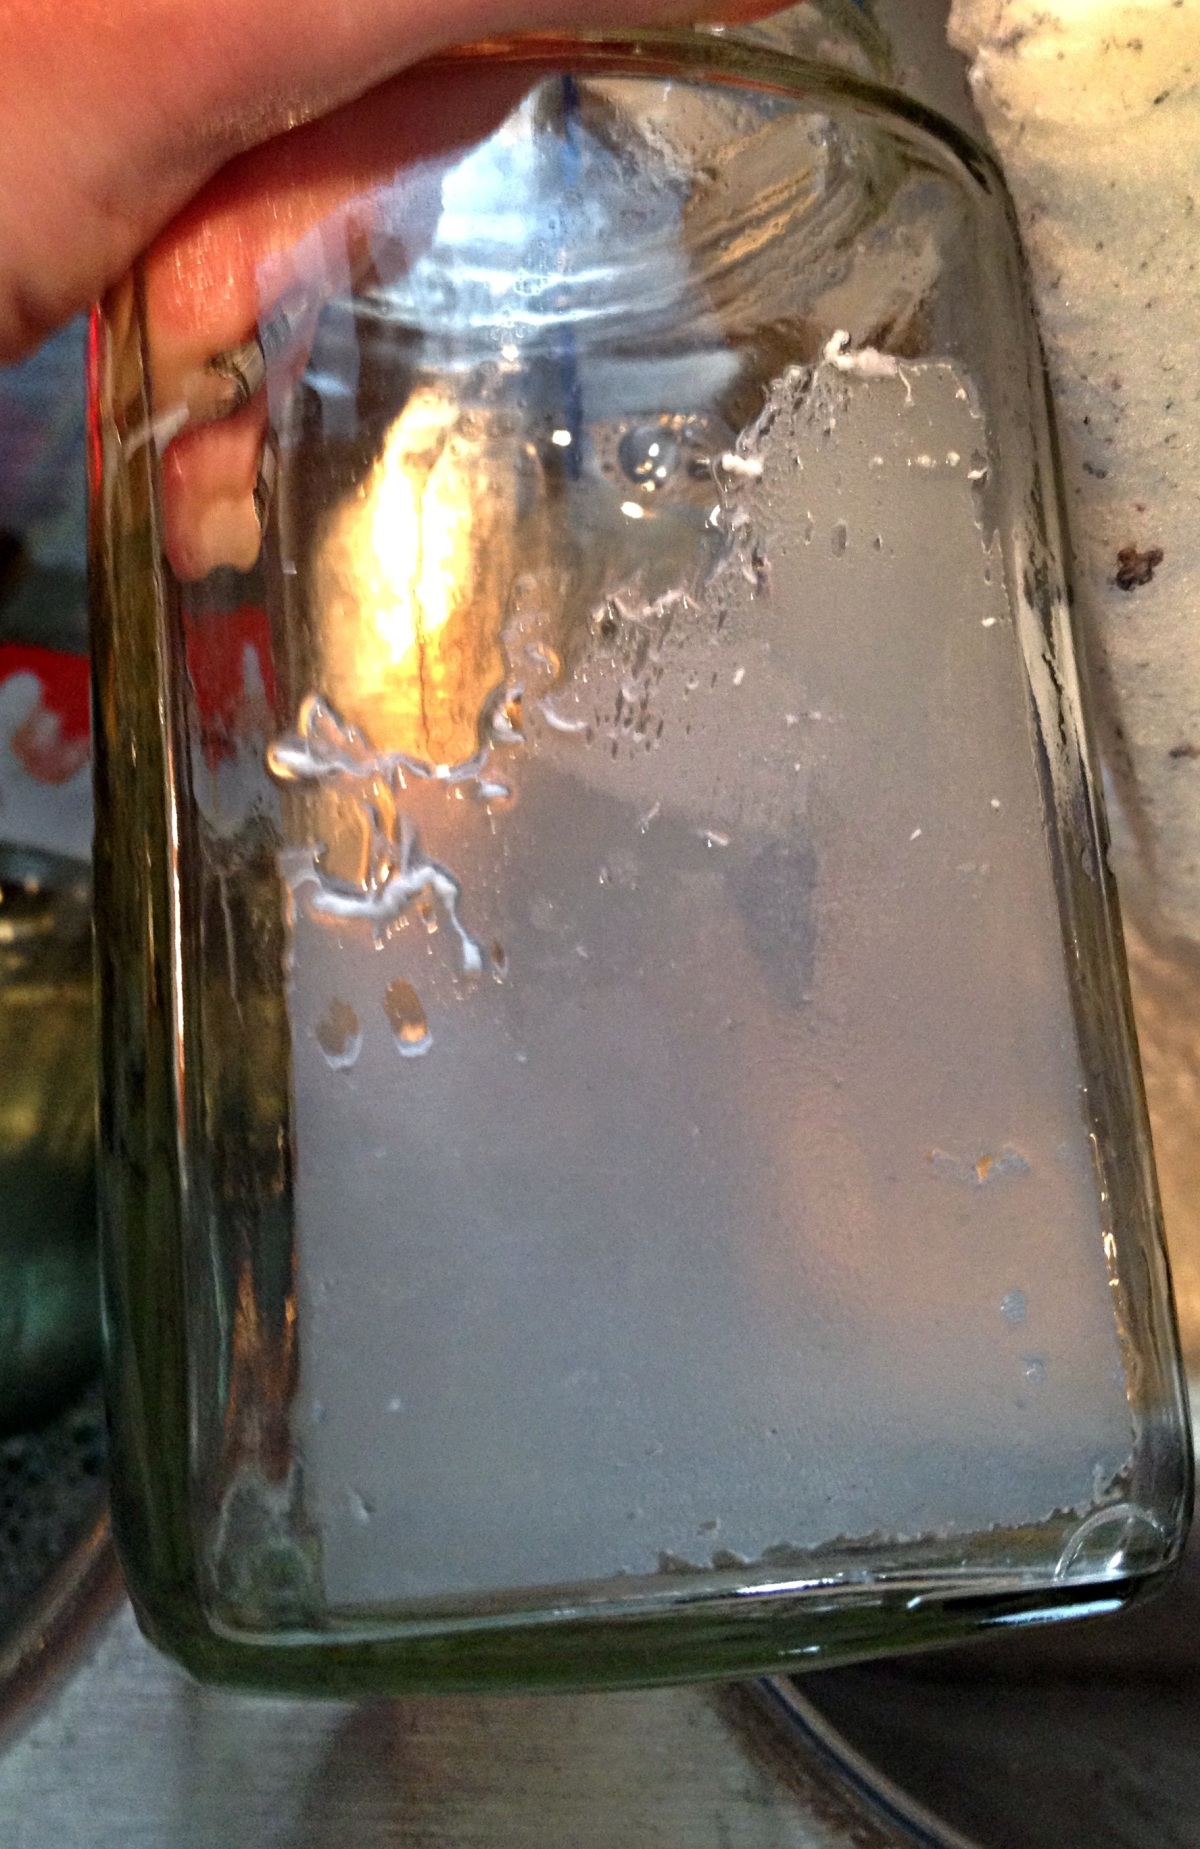
As you can see, this one had quite a bit of reside remaining.
So I started scrubbing. If the eraser alone won’t cut it, sprinkle on some baking soda and scrub away. It does still take a little elbow grease.
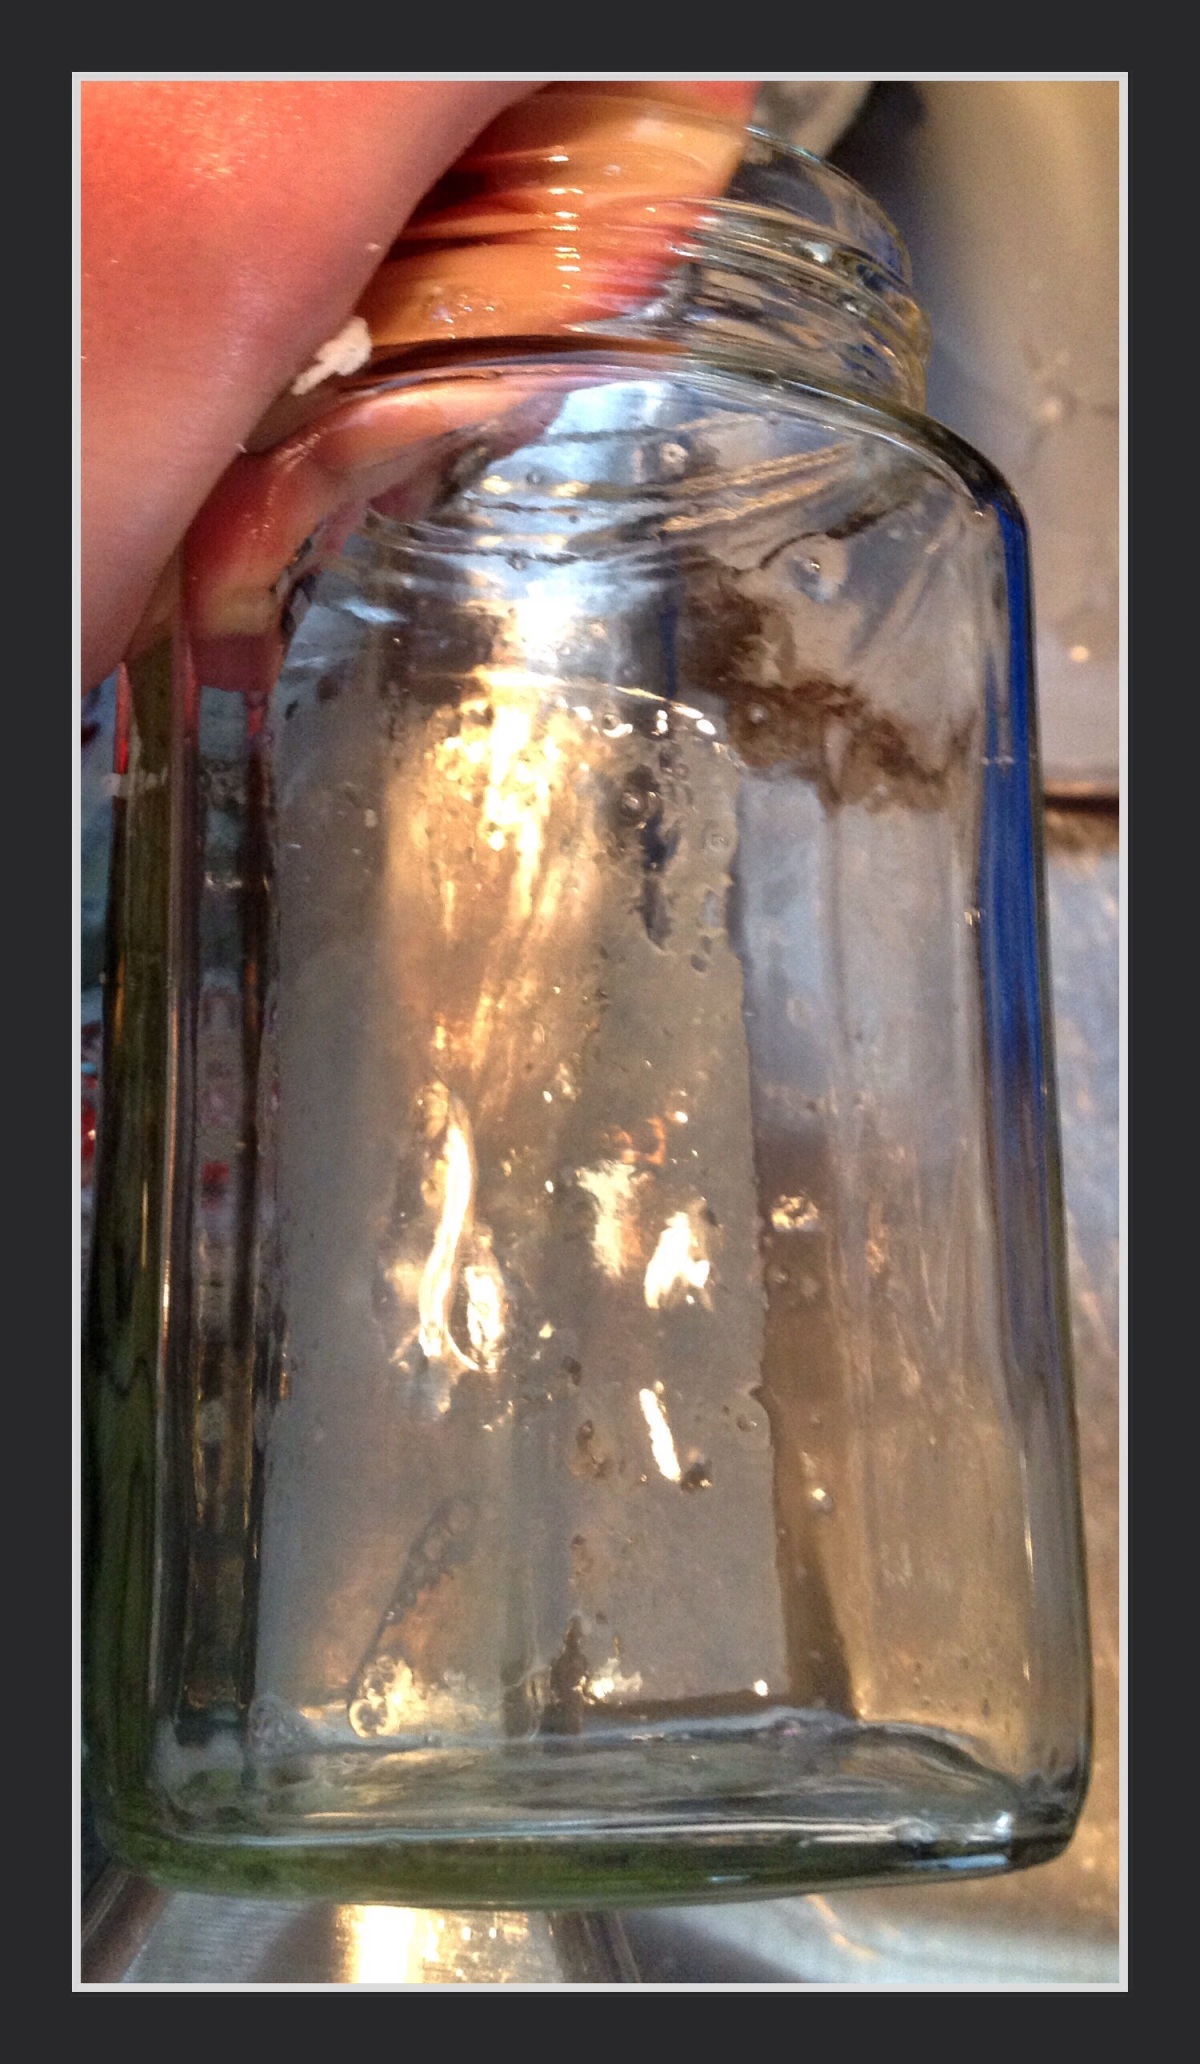
And there you have it, an easier way to remove labels!
Do you have any other tips that work well for you when it comes to removing labels?
Picture Frame Makeover
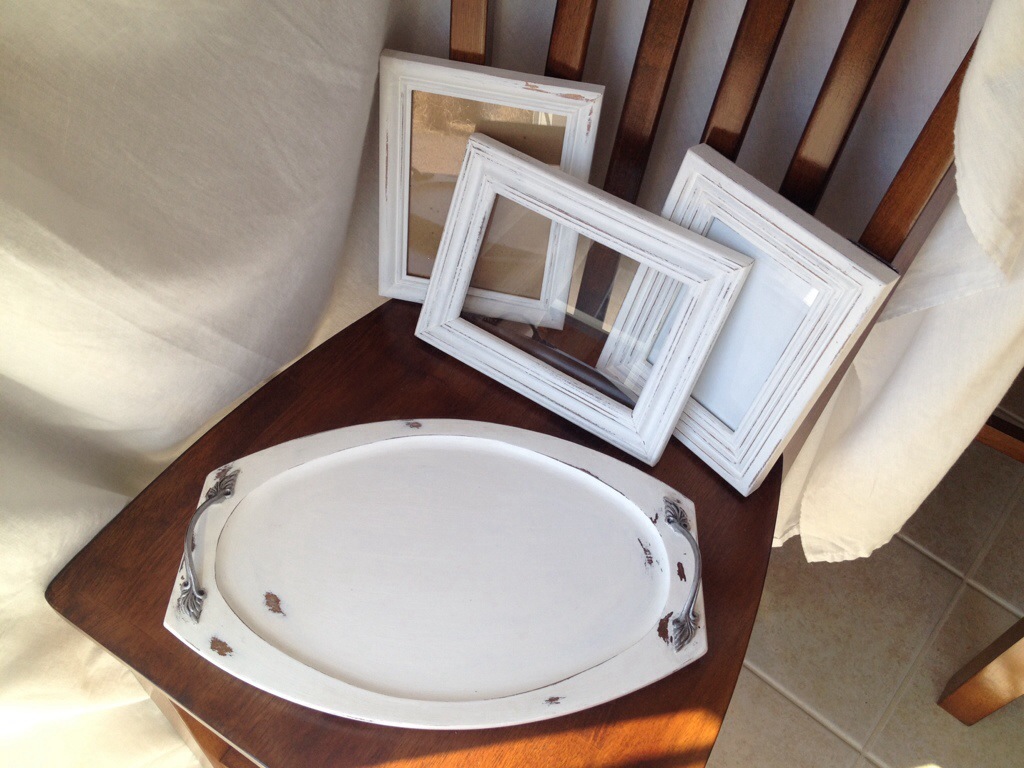
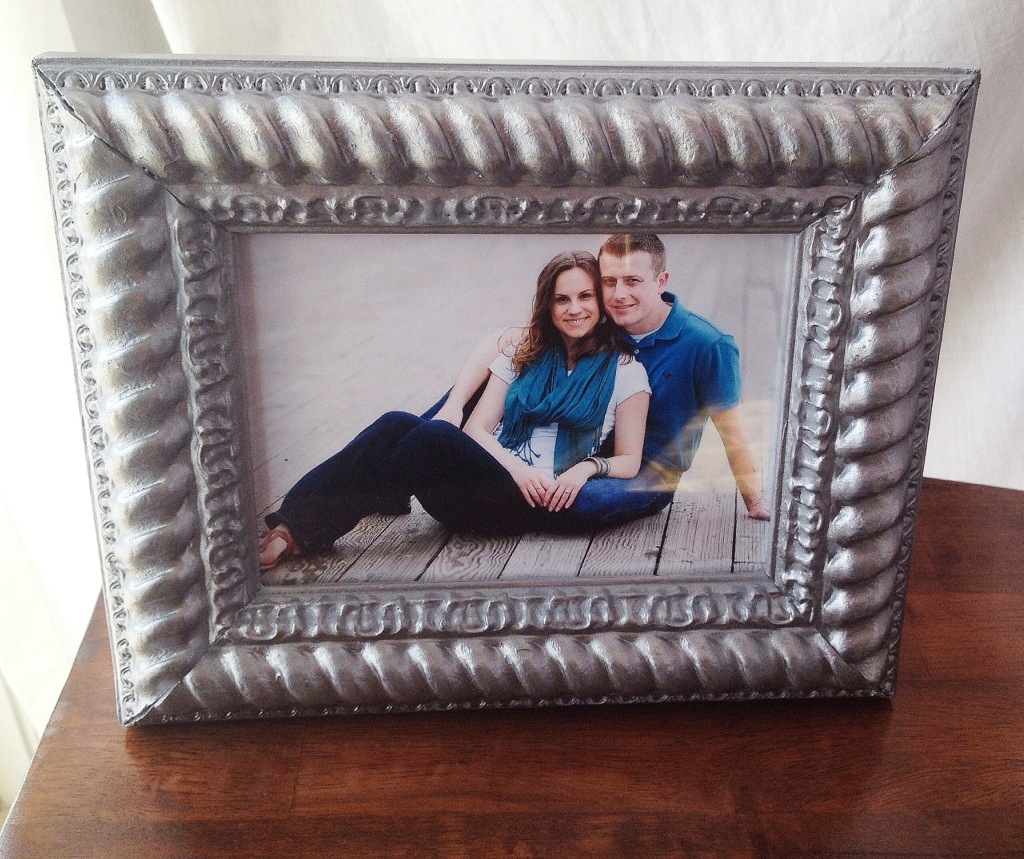
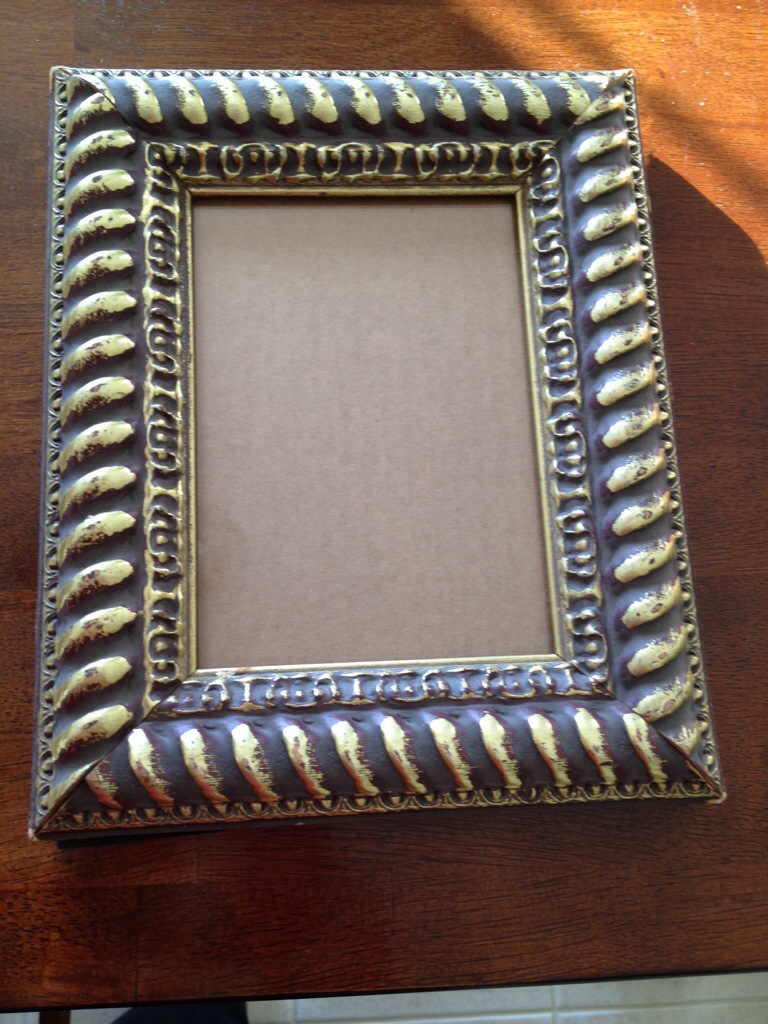
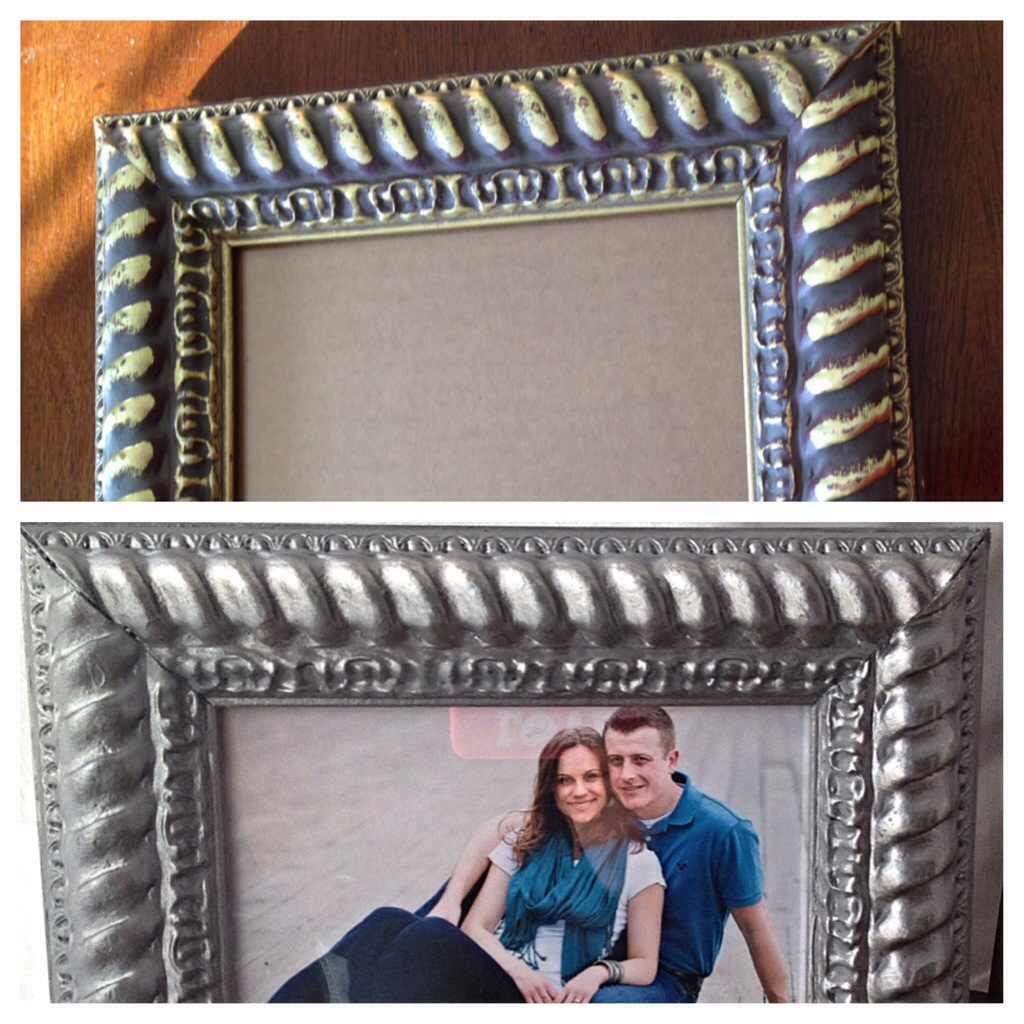 We all have frames we’ve had for years, or see them at our ‘junk’ stores that are beautiful but not quite the right color. A few coats of paint can make all the difference!
Here I simply painted the frame using a sample of Valspar paint I had left over and highlighted the textured areas on front with Rust-oleum Metallic Accents in Real Pewter.
It’s amazing what a little paint can do! Think twice before getting rid of old frames or pick them up super cheap and give them a makeover like I did. Nice frames can be expensive!
DIY Covered Tray/Box
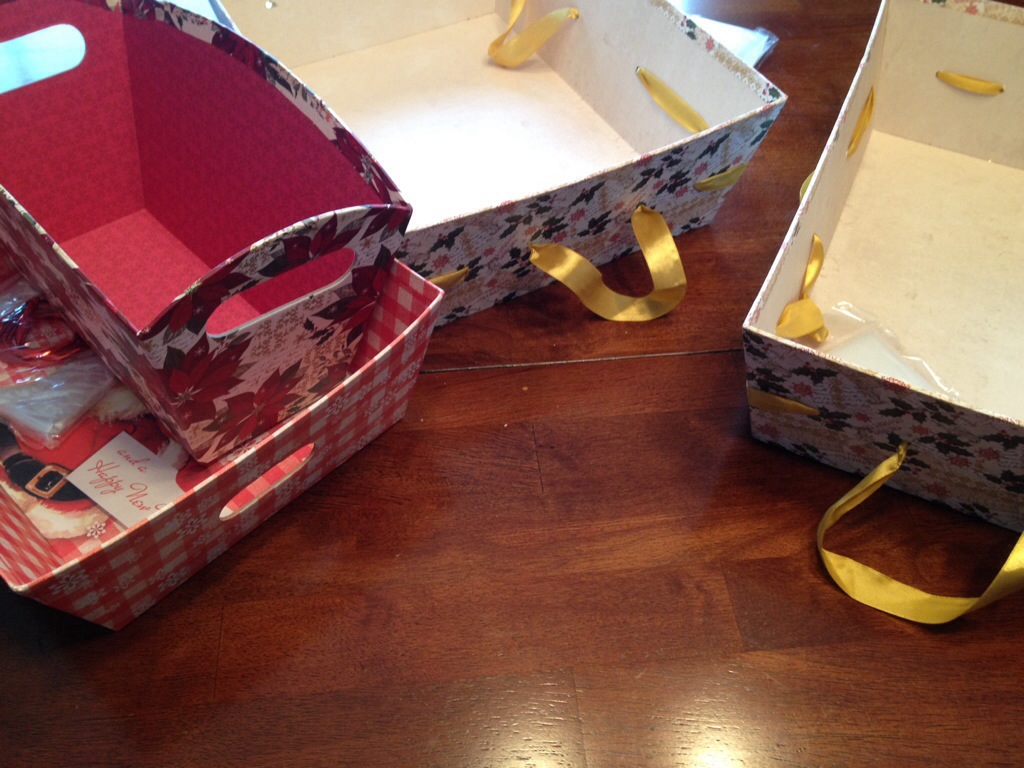
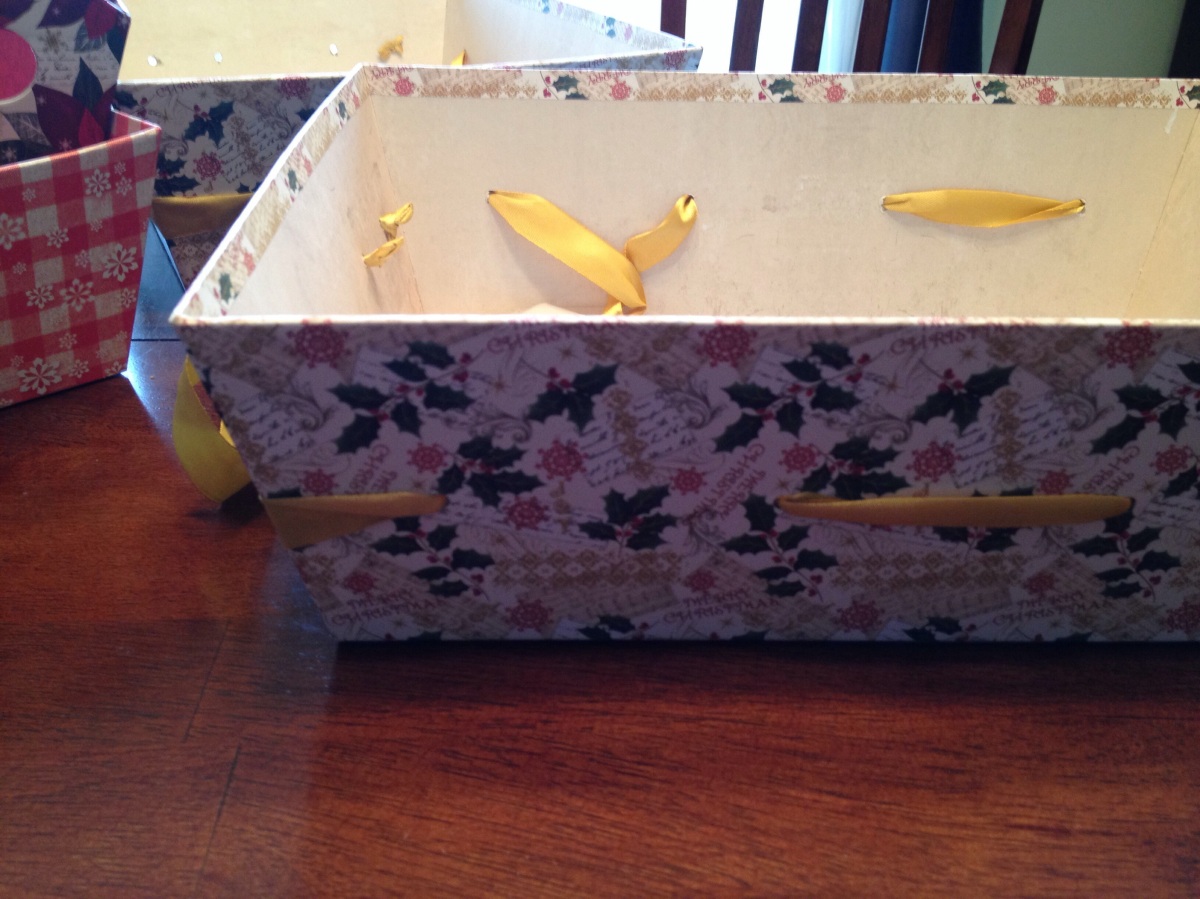
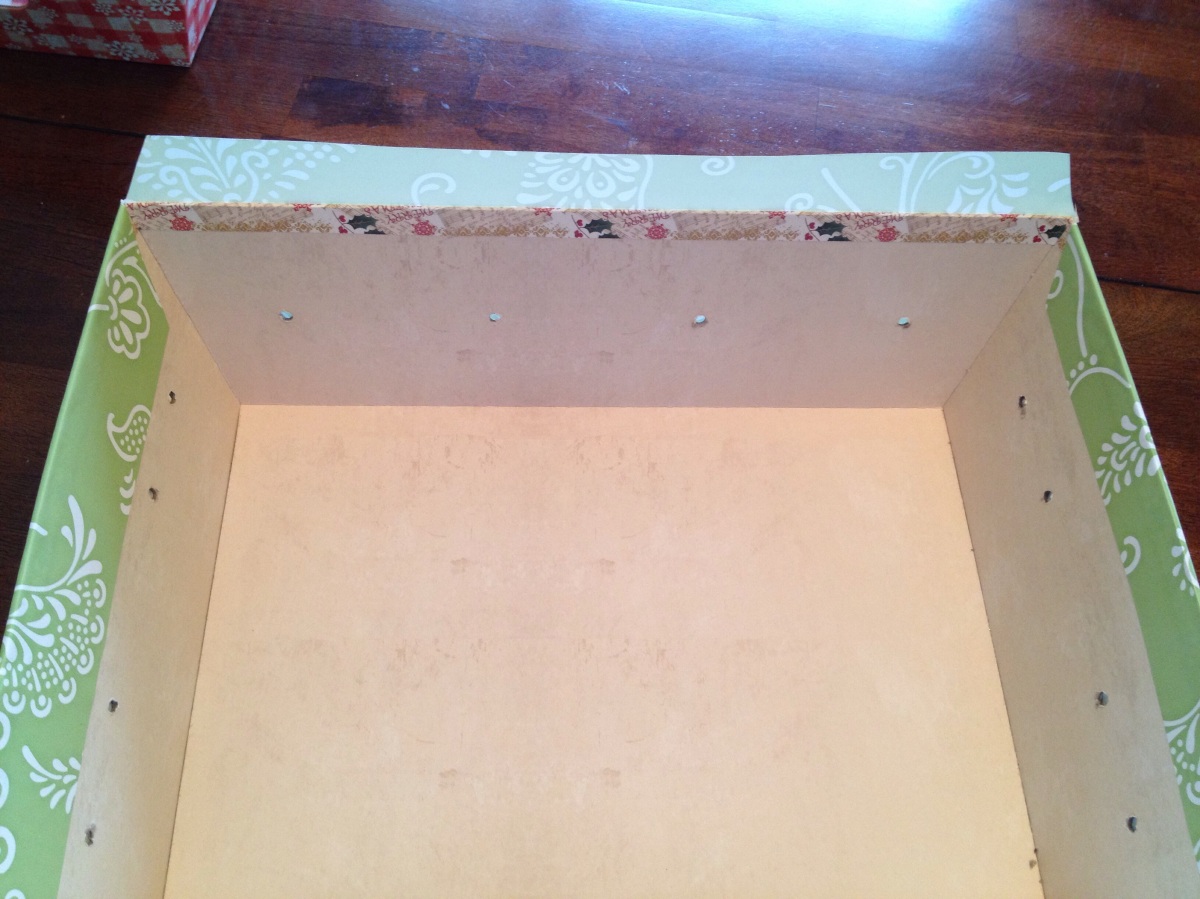
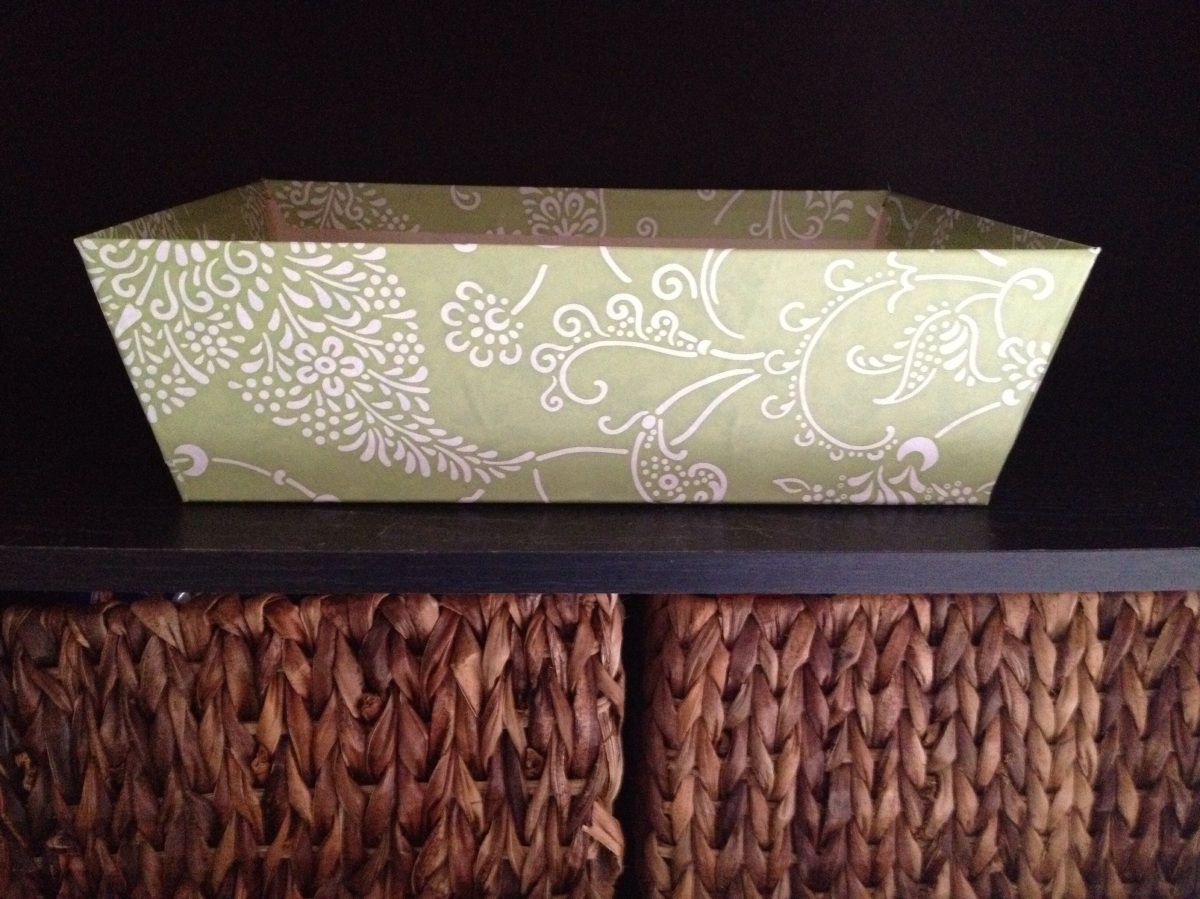
Many times I find great deals on boxes or containers that would be great for storage, but they don’t really match my decor. I picked up this tray for 75% off after Christmas, but it could have easily been one I got as a gift as well. These are great for storage! Don’t toss them, refinish them.
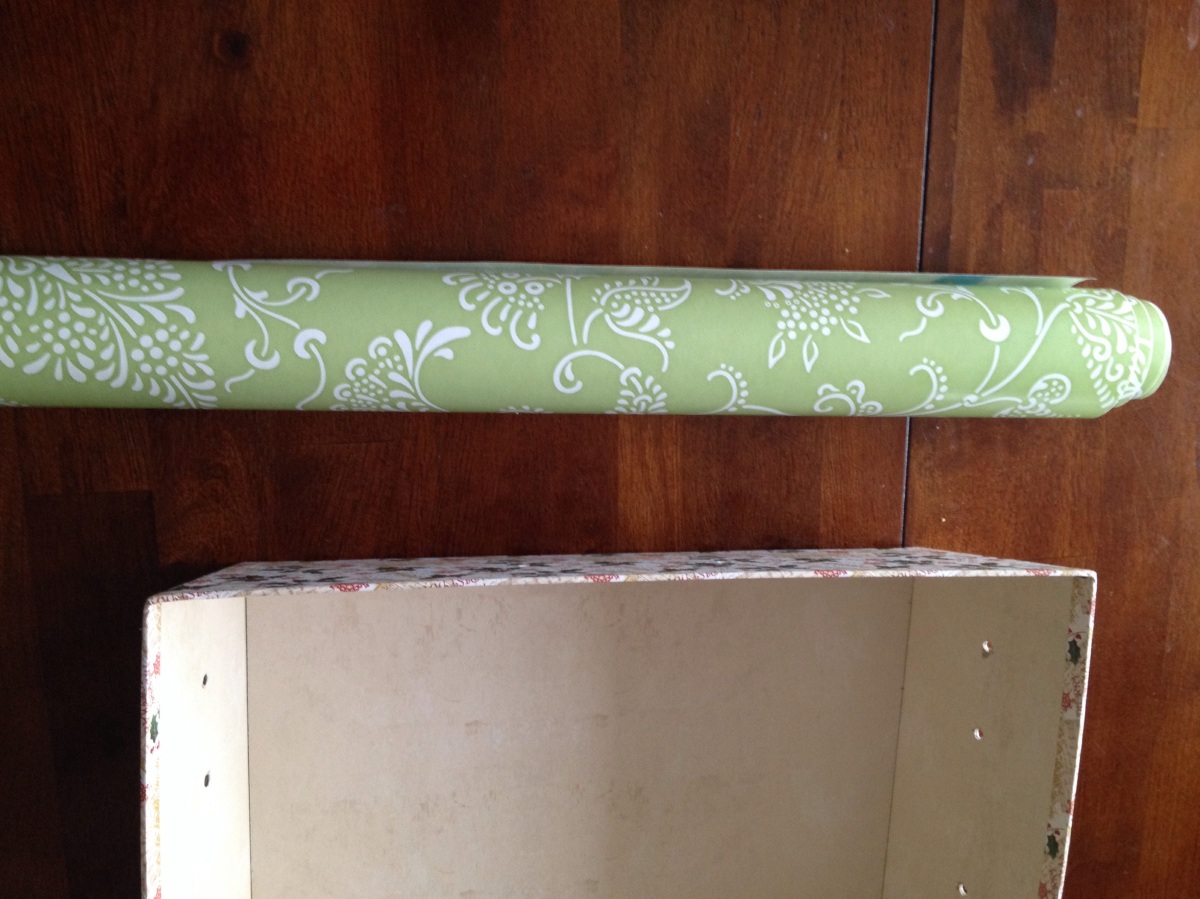
I used some cheap contact paper I already had. This can easily be found at dollar stores.
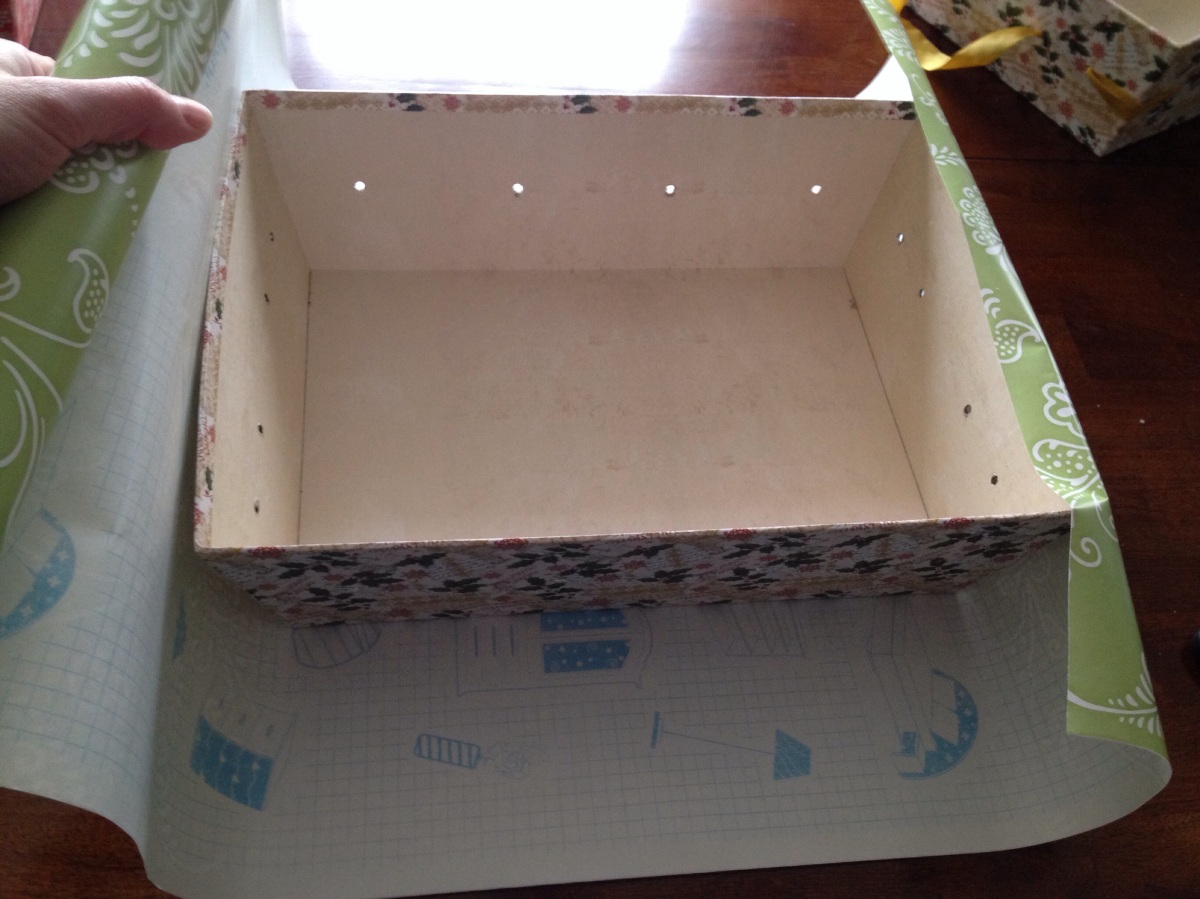
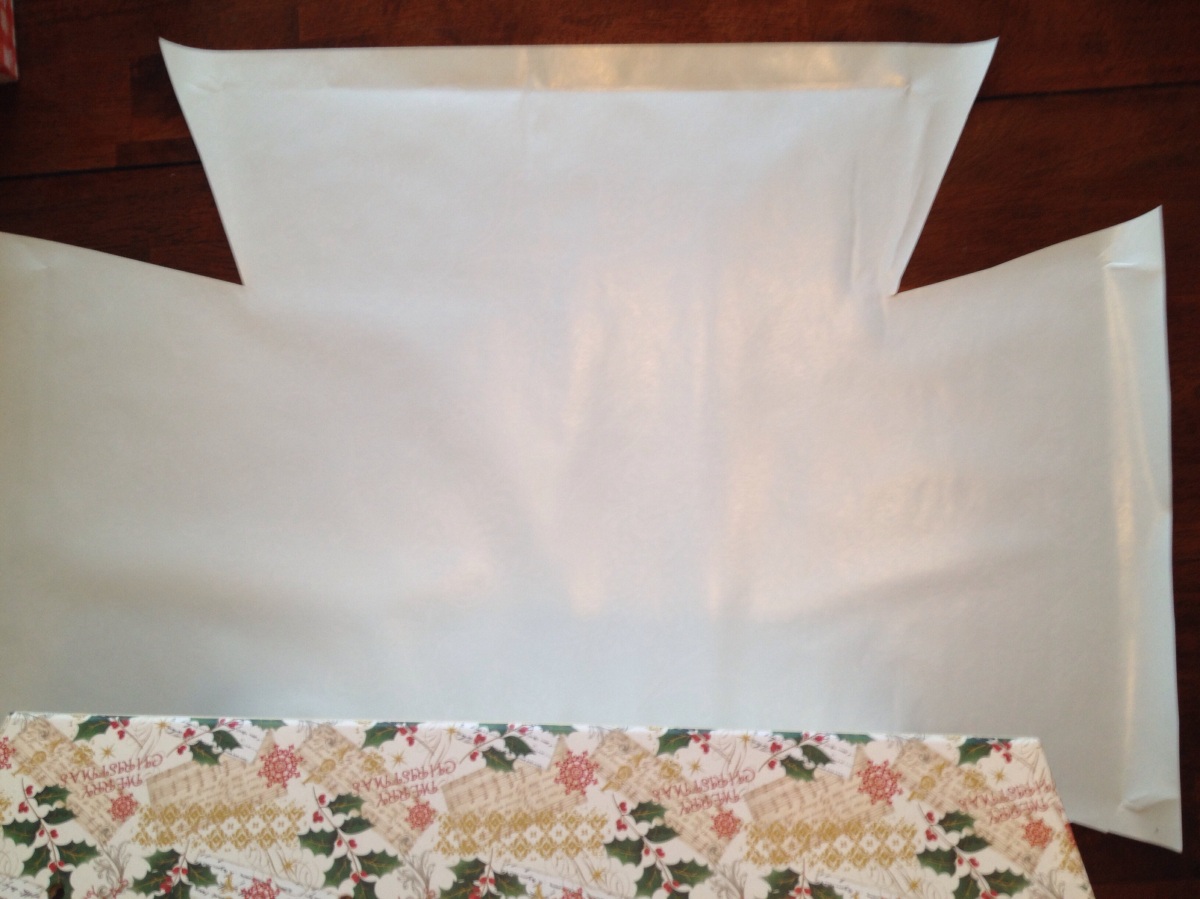
As you can see I simply set the box on the rolled out paper, pulled up the sides to make sure it would cover and cut.
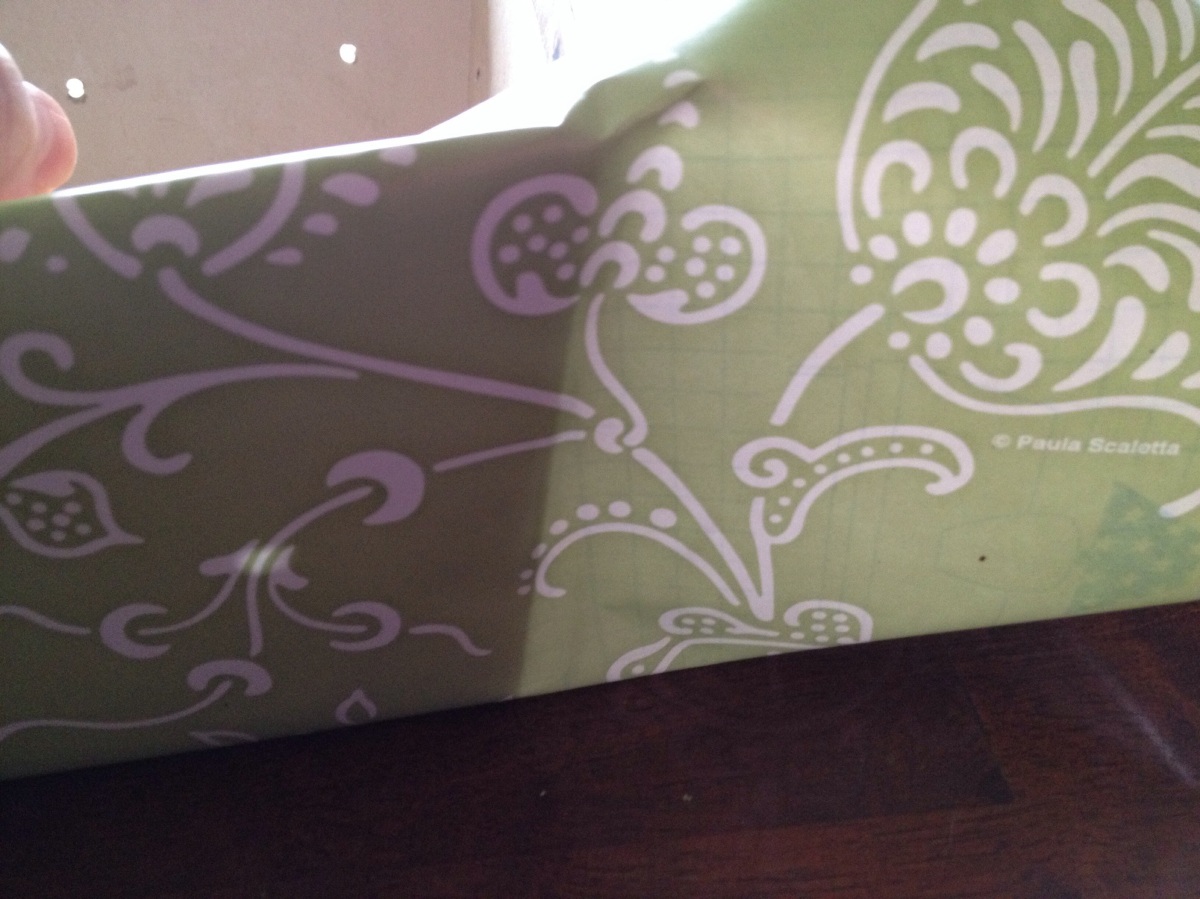
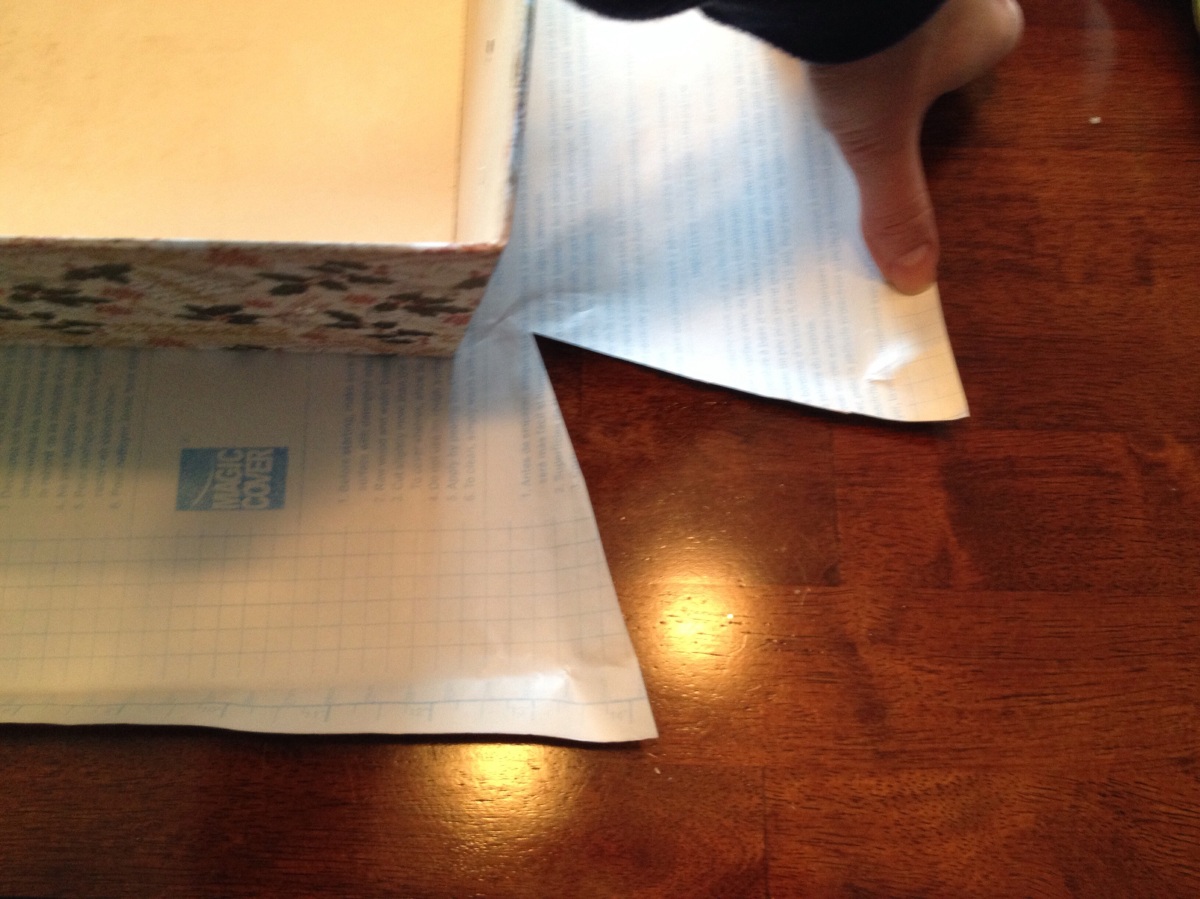
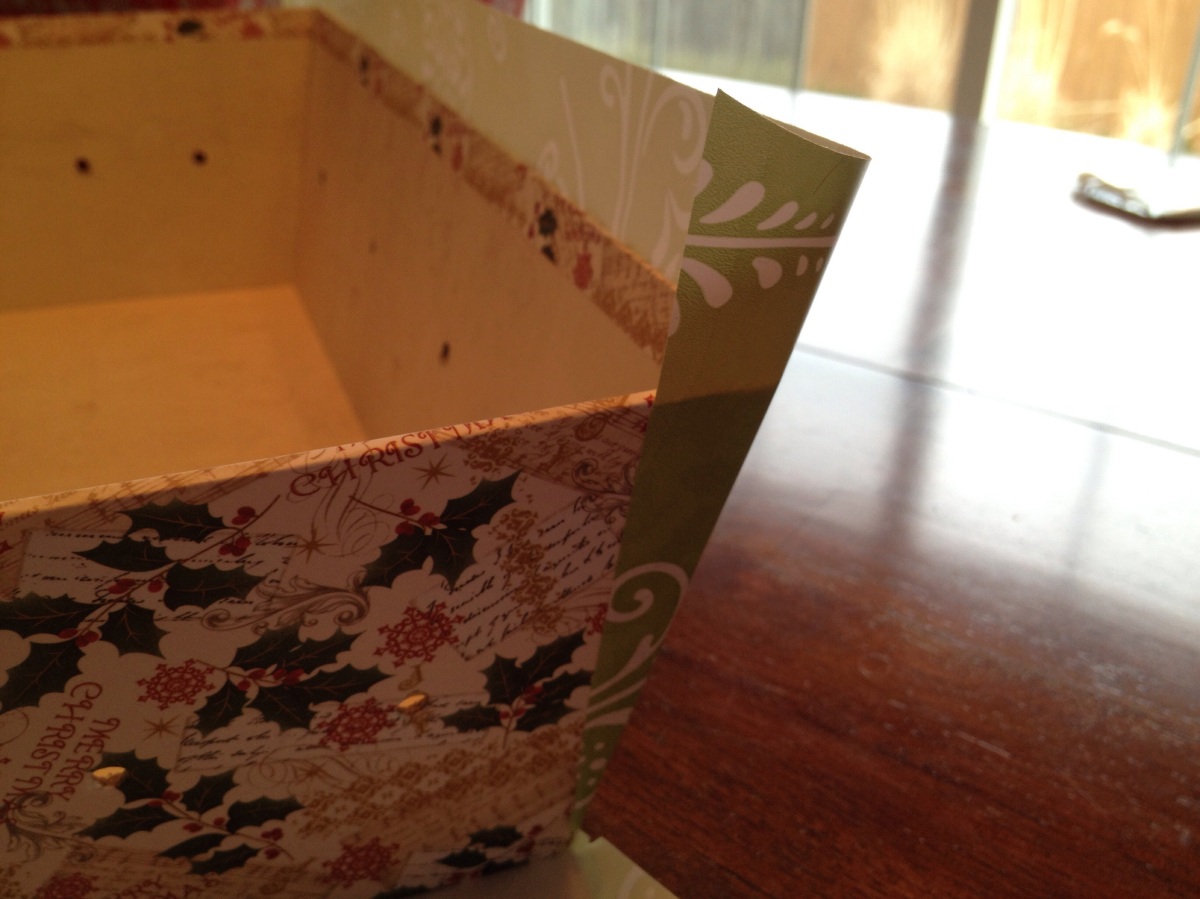
Next I creased the corners to see where to cut the corners.
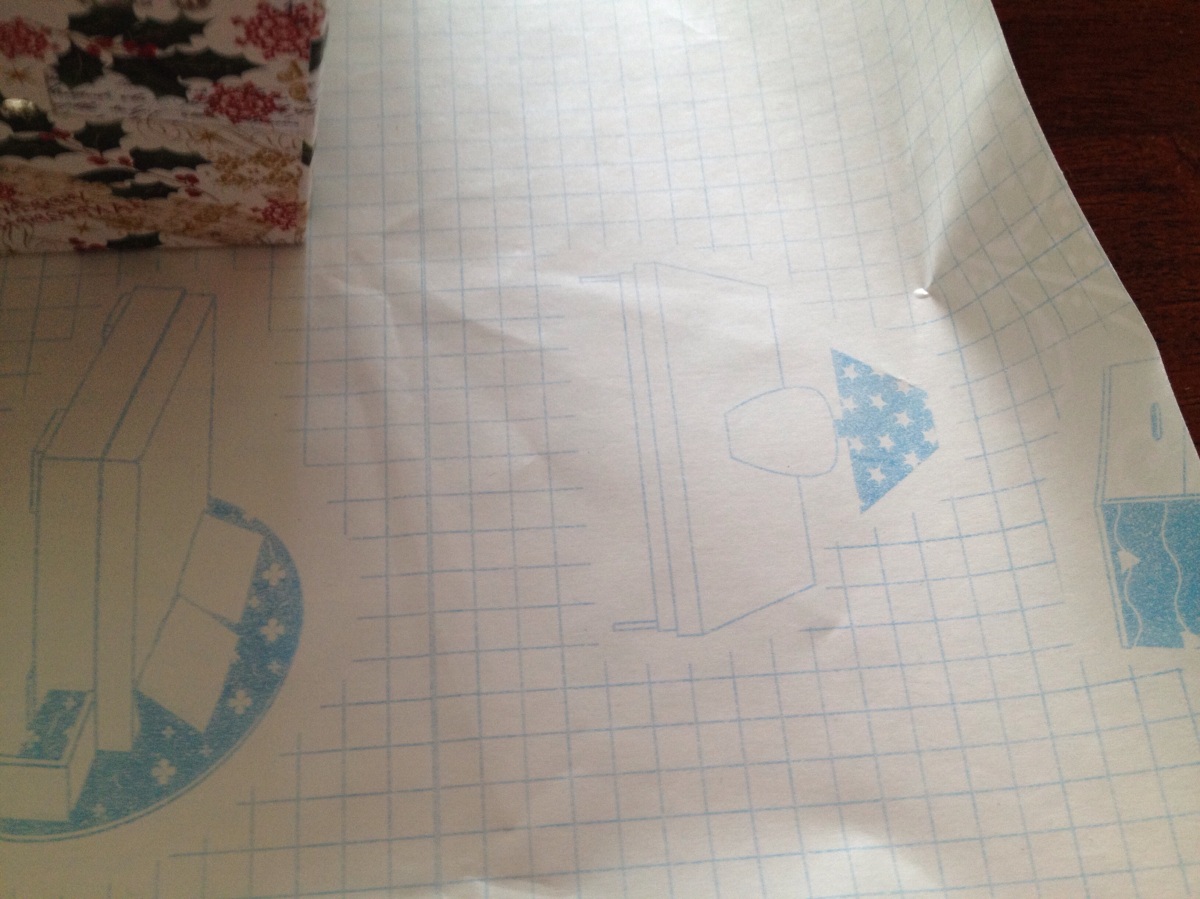
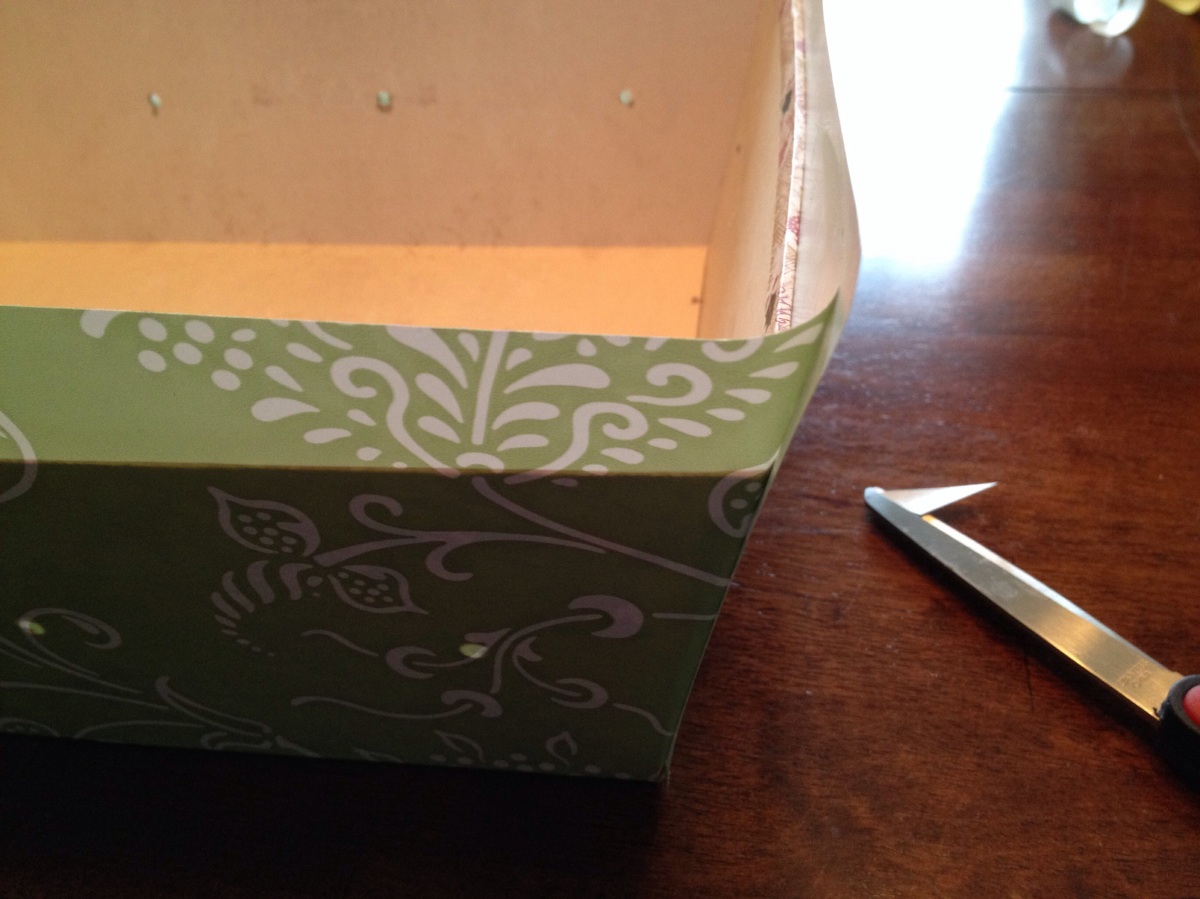
I then peeled off the backing and began sticking. I found it easiest to pull the sides up taught and smooth from one side to another.
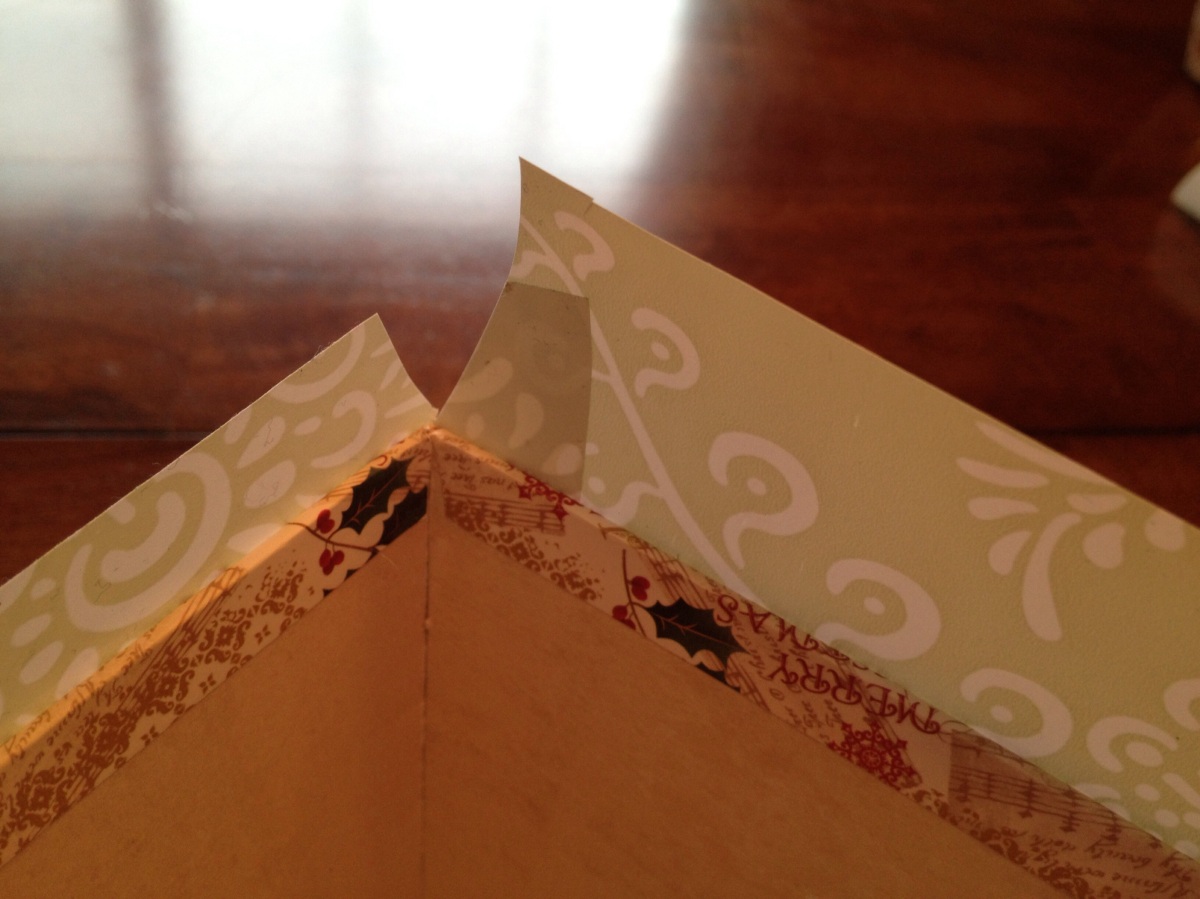
After all sides are smoothed, I cut a ‘v’ out at the top of the corner. This way it smooths well as it is folded down.
The finished product is great for open shelf storage.

